So, you’ve encountered the Service 4WD message on your Chevy Suburban’s dashboard.
But what exactly does this message mean and what are the steps to clear it?
Stick to the end of this post to find out!
What Does the Service 4WD Message Mean?
Generally, an illuminating or intermittently flickering Service 4WD light indicates that there’s something off with your vehicle’s four-wheel drive (4WD) system, requiring attention.
There could be various reasons behind the appearance of this warning message, and I’ll discuss a few common ones:
- A malfunctioning transfer case: The transfer case plays a vital role in engaging and disengaging 4WD. If there’s an issue with it, the Service 4WD light might illuminate. In some cases, a C0306 code might also be stored, indicating a more specific problem with the motor circuit.
- Faulty actuator or sensors: The actuator and sensors in the 4WD system help monitor and control the system’s operation. If any of these parts fail or send incorrect signals, you’ll see the Service 4WD light on your dashboard.
- Electrical issues: Damaged wires and poor connections could result in the sporadic performance of the 4WD system, triggering the warning light. Fixing these issues typically involves inspecting and repairing or replacing faulty components.
- Software or calibration problems: The vehicle’s computer system, including the Engine Control Module (ECM), plays a vital role in running the 4WD system. Occasionally, faulty software or calibration issues can cause the light to come on, even if the 4WD system is operating correctly.
Other reasons could be Insufficient or contaminated fluid levels, problems with the front or rear differential, the driveshaft, or other components in the four-wheel drive system.
Please remember that the Service 4-Wheel Drive message may not always address the same issue.
Diagnosing the specific problem is essential, as it may vary depending on the situation.
Now that you better understand the possible causes behind the Service 4WD light, let’s dive into how to clear it.
How to Clear Service 4WD Light on A Chevy Suburban
1. Refer to the Owner’s Manual
Let’s begin with the first recommendation. It’s always a good idea to consult your Chevy’s owner’s manual when dealing with any issues, including how to clear the Service 4WD light.
In any case, if you’ve misplaced your physical copy, there’s no need to panic.
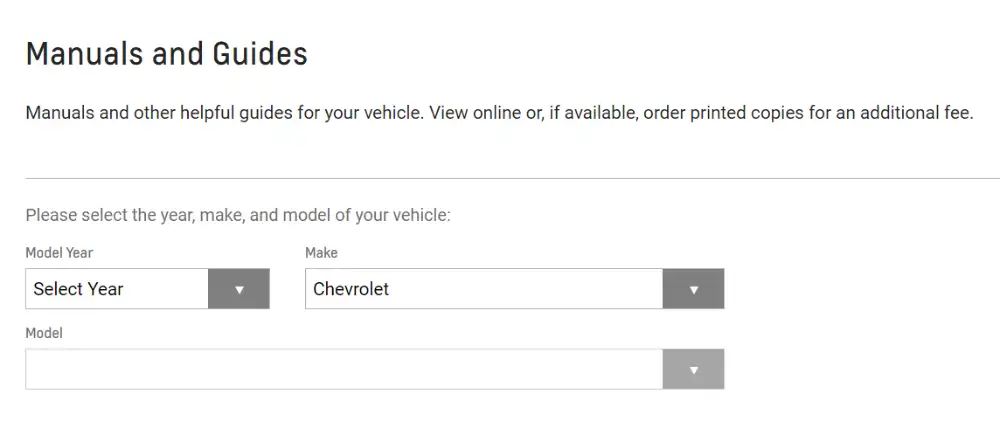
You can find electronic versions of Chevrolet owner’s manuals online at chevrolet.com. To download your manual, simply select your vehicle’s model year, make, and model.
This way, you can efficiently access the information from your phone or computer.
2. Inspect the 4WD System
Before you start trying to clear that pesky Service 4WD message on your Chevy Suburban, let’s take a moment to examine your 4WD system.
Switch your 4WD settings from 2WD to 4WD and back again. Pay attention to how the switch feels, and listen for any strange noises or changes in your vehicle’s behavior.
If there is no appropriate response from your 4WD, it could indicate potential issues with the wiring, switches, transfer case, or the components of the 4WD system.
3. Disconnect the Battery and TCCM
Disconnecting the battery can clear the Serv 4WD on your Chevy Suburban.
First, locate the battery in your Chevy and remove the negative cable. Typically, the negative cable is connected to the black terminal with a “-” symbol.
Simply loosen the clamp using an appropriate wrench and then pull the cable off the terminal. This should effectively cut off the power to your vehicle’s electrical system.
Now, to reset the 4WD system, you’ll want to find the 4WD Transfer Case Control Module (TCCM).
The TCCM manages the 4WD system, so disconnecting it can help clear any lingering error codes.
The TCCM is often located behind the glove box or under the dashboard.
Once you’ve located the TCCM, carefully disconnect the wiring harness that connects to this module. Ensure that you take note of the harness connections so you can reconnect them later.
Speaking of which, wait for about 30 minutes to an hour before reconnecting the battery and TCCM. This waiting period allows the system to reset and clear error codes.
After reconnecting the TCCM harness and the battery, you can start your vehicle and check for the “Service 4WD” message on the dashboard.
If the message has disappeared, that means the issue has been successfully cleared.
4. Remove the Knee Bolster and Dash Bezel
First things first, you’ll need to remove the dash bezel.
Don’t worry; this part is quite easy; it should simply snap out without any issues.
Gently pull on the dash bezel to remove it from its position. Just be cautious not to apply too much force, as you don’t want to damage any components.
Now that the dash bezel is out of the way, it’s time to tackle the knee bolster.
To start, you’ll need a screwdriver to remove the two screws located at the bottom of the knee bolster. Once these screws are removed, you should be able to pull the knee bolster away from the dashboard carefully.
After successfully removing both the dash bezel and the knee bolster, you’ll have access to the electrical components or switches.
At this point, the next steps involve inspecting them and replacing them if they are faulty.
5. Check the Wiring and Switch Assembly
Once you’ve removed the knee bolster and dash bezel, disconnect the switch assembly and make sure the wires are in good condition, securely plugged in, and corrosion-free.
Any damage to the wiring may impact the communication between the switch assembly and the TCCM, leading to problems.
In any case, you should also examine the switch assembly itself. A faulty switch can send incorrect data to the module, like pressing the 4WD HI or 4WD LO button and not relaying the corresponding information.
Be diligent while checking the buttons and connections, ensuring everything works properly.
If the light disappears, congratulations! You’ve likely found the culprit. If not, don’t worry – there are more steps to investigate and potentially solve the Service 4WD issue.
6. Check the Transfer Case and TCCM
It’s time to check the transfer case and the Transfer Case Control Module (TCCM). These components play a vital role in your vehicle’s four-wheel drive system.
Inspecting the transfer case visually for any signs of damage or leakage is always a good idea.
Next, the TCCM needs your attention.
First, find the fuse box and inspect whether any fuses associated with the 4WD system and TCCM (Transfer Case Control Module) are blown and need replacement.
If any fuses are blown, acquire replacement fuses with the same amperage rating.
Next, carefully examine the wiring and connectors that lead to the TCCM for any signs of damage, corrosion, or loose connections.
If you discover any compromised wiring or connectors, take appropriate measures to repair or replace them accordingly.
The TCCM manages the transfer case’s operations, sending signals to engage and disengage the 4WD system.
Having said that, if the Service 4-Wheel Drive message persists after these steps, it’s time to dig deeper.
To fully diagnose the issue, you’ll want to scan the TCCM for specific codes, ranging from motor circuit shorts to battery issues.
You may need a special diagnostic tool. Here is our recommendation:

7. Reinstall Interior Panels
Now that you’ve dealt with the Service 4WD message appearing on your dashboard let’s get your vehicle’s interior back in shape.
Start by carefully positioning the knee bolster back into place. Line up the clips with their corresponding holes and gently push the bolster until it clicks into place.
The same goes for the dash bezel—ensure it’s aligned correctly before securing it with the necessary screws or clips.
If everything is in order, refasten any remaining screws, bolts, or fasteners you removed during disassembly. Ensure all panels, wires, and components are safely attached and secure.
8. Do a System Reset
You should perform a system reset once you’ve completed all of the steps above just in case.
You can grab your trusted OBD-II or DRB-III diagnostic scan tool.

9. Take Your Vehicle to a Professional Mechanic
When everything else fails, taking your vehicle to a mechanic is one of the best options.
Let’s face it: troubleshooting and repairing 4WD systems can be quite challenging, especially if you’re not familiar with the inner workings of your vehicle.
For example, transfer case issues or wiring problems could be the root cause; without proper knowledge, you might further damage your vehicle.
To sum up, when dealing with a Service 4WD light, it’s wise to trust the expertise of a qualified mechanic.
FAQs
Can You Drive a Chevy Suburban with A Service 4WD Message On?
As a general rule of thumb, driving with a Service 4WD light that is illuminating on your dashboard is not recommended.
If you lack the proper know-how and mechanical skills to fix the issue yourself, it is recommended to have the vehicle inspected by a qualified mechanic as soon as possible to determine the cause of the warning and to address any necessary repairs.
What Are the Chevrolet Suburban Years that Are Most Affected?
The most affected Chevrolet Suburban years are the following: 1999, 2001, 2003, 2004, 2005, 2006, 2015.
In Summary
To recap, here are the steps in which you can successfully clear the Chevy Suburban Service 4WD message:
- Refer to the Owner’s Manual
- Inspect the 4WD System
- Disconnect the Battery and TCCM
- Remove the Knee Bolster and Dash Bezel
- Check the Wiring and Switch Assembly
- Check the Transfer Case and TCCM
- Reinstall Interior Panels
- Do a System Reset
- Take Your Vehicle to a Professional Mechanic